Normally I dislike long preambles to recipes, but this one deserves a little story-time.
I am not a confectioner. Cakes are not my thing and I have always left them to my ridiculously talented daughter. I think the only cakes I’ve ever made have come out of a box. As I’ve got older, however, and have taken a keener interest in my health — and especially the foods I eat — I’ve started to look for healthier versions of everything. I’m now very used to unsalted foods and have completely cut out processed foods, most simple carbs and sugar. Nevertheless, food is so very important and a life without dessert is a life without a particularly joyful part of it.
For a family Easter dinner, I decided to try making a carrot cake and, oh my lord, did it fail. Being a not-confectioner, I failed the first rule of cake-making: do not overmix. I mixed everything with an electric mixer and the cake was dense and heavy and frankly, slightly disgusting. The family called it “edible” and “really tasty” but I was horrified. Not to be beaten by a damned carrot cake, I decided to try again and against my better judgement, decided to create my own recipe.
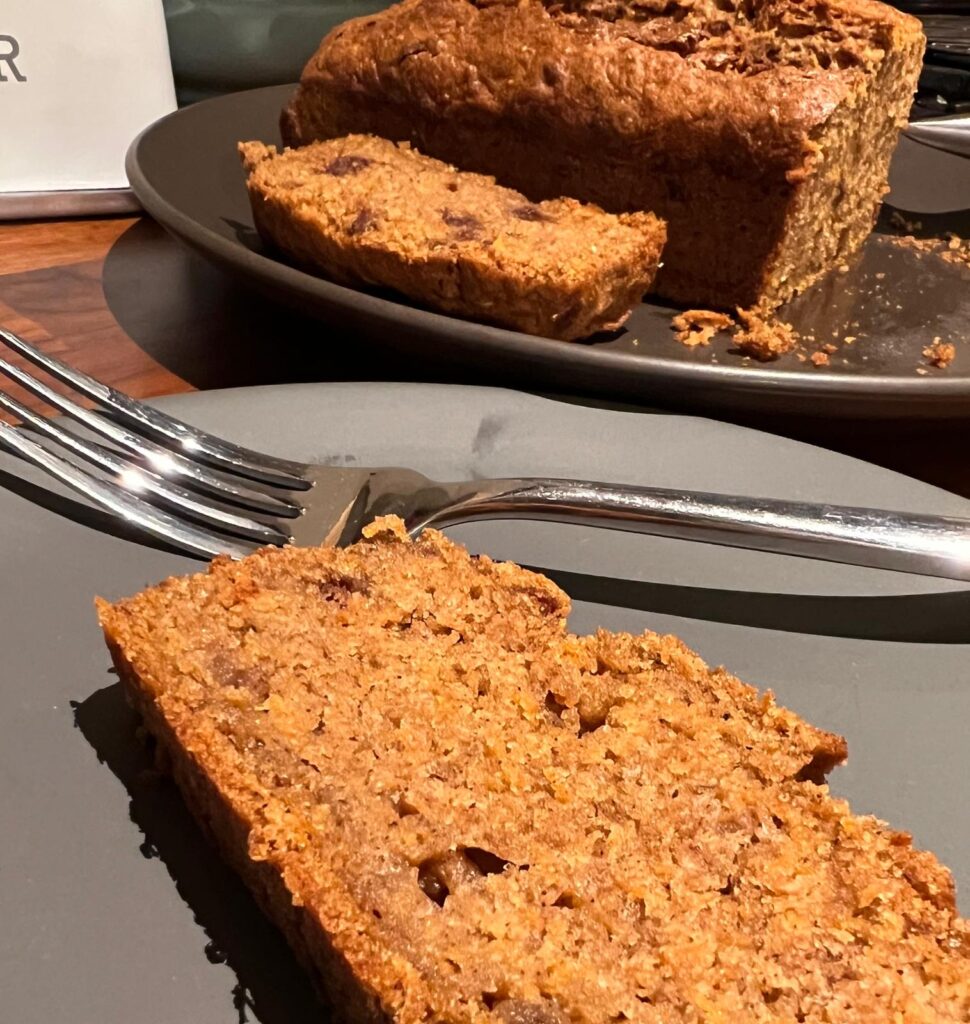
So, here’s my very own concoction. It’s not perfect, but it was way more than edible and actually tasty. I will update as I improve. Also, pretty damned healthy by dessert standards!
Serves 10: 253 kcal, 13.6g Total Fat, 30.9 Total Carbohydrates, 3.7g Protein per serving
Ingredients:
- 125ml sunflower oil
- 2 eggs
- 125ml maple syrup
- 100g whole wheat flour
- 100g plain flour
- 1.5 tsp baking powder (don’t use out of date powder like I did the first time!)
- 2 tsp cinnamon
- 1 tsp allspice
- 200g grated carrot
- 10 dates, chopped into small pieces (optional, or use raisins)
Instructions:
Preheat oven to 175C/350F. Line a loaf pan with parchment and a bit of oil. I used a 11cm x 6cm x 20cm tin but a smaller deeper one might be better next time for a taller cake (with adaptations to the cooking time).
In a large bowl, mix together the oil, maple syrup and eggs until combined.
In a separate bowl, whisk together the flours, baking powder and spices.
Add the dry ingredients to the wet and gently mix. I can’t emphasize gently enough here – this was my undoing. Then fold in the carrots and dates. Pour the batter into the lined loaf pan and bake for 45min to an hour. Every oven is different, so check frequently after about 40 minutes by inserting a long toothpick until it comes out clean.
Remove and cool in the tin on a wire rack for about 30 minutes. Remove to the rack until completely cooled before frosting as desired (healthy frosting recipe in the works!).

 It’s been a minute, but I wanted to save this recipe because I LOVE it so much. You can also add this to a tart base or fill your desert pots with a biscuit crumb base. You can use lemon, orange or any citrus juice. Lemon is my favourite but I may try a grapefruit posset next time.