RSS Feed
  1. Soft Flapjacks

    January 14, 2024 by Lisa

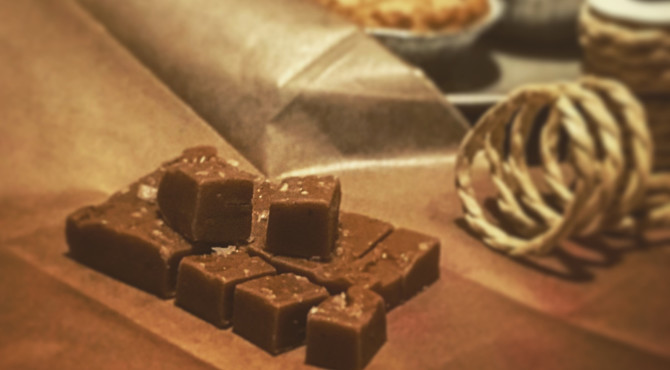
    These are a thick, buttery, soft and crumbly flapjack. And when I say buttery, I mean there is a LOT of butter in this recipe.

    Ingredients:

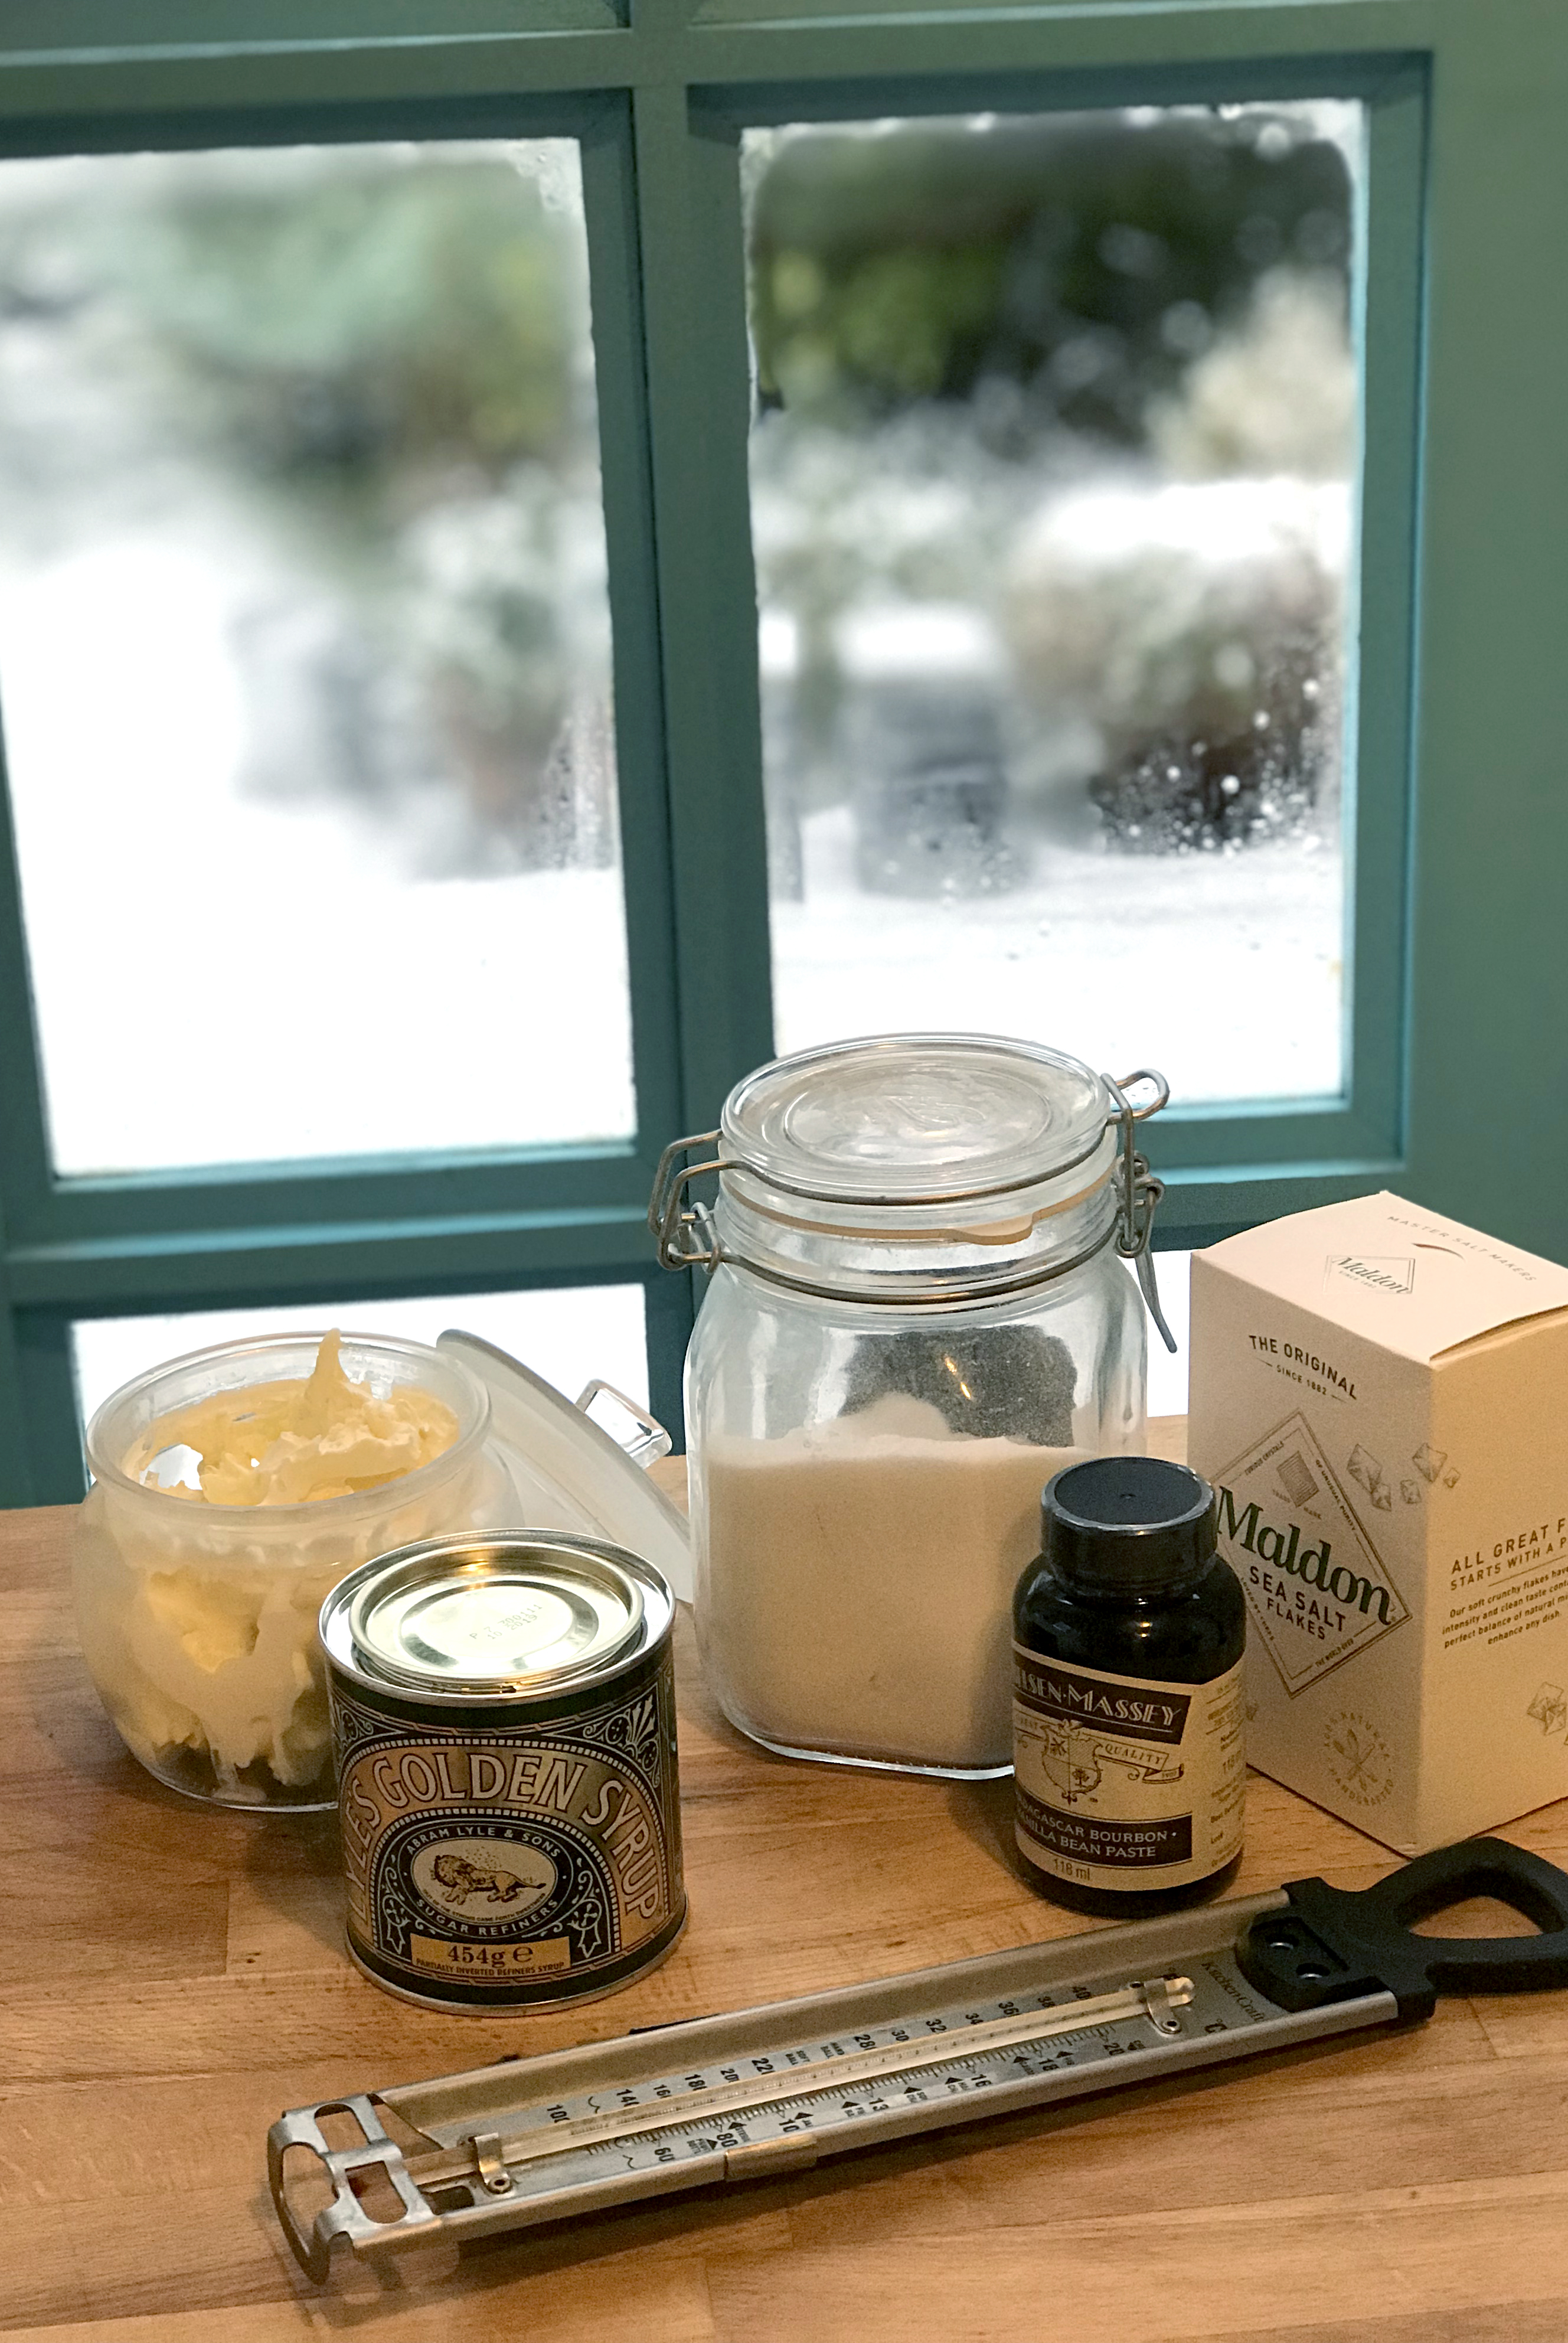
    • 150g granulated sugar
    • 225g salted butter, melted
    • 115g golden syrup
    • 270g porridge or rolled oats
    • 185g plain flour
    • 1/4 tsp salt
    • Jam, peanut butter, biscoff spread or fruit, as you like. Or nothing at all, if you also like.

    Instructions:

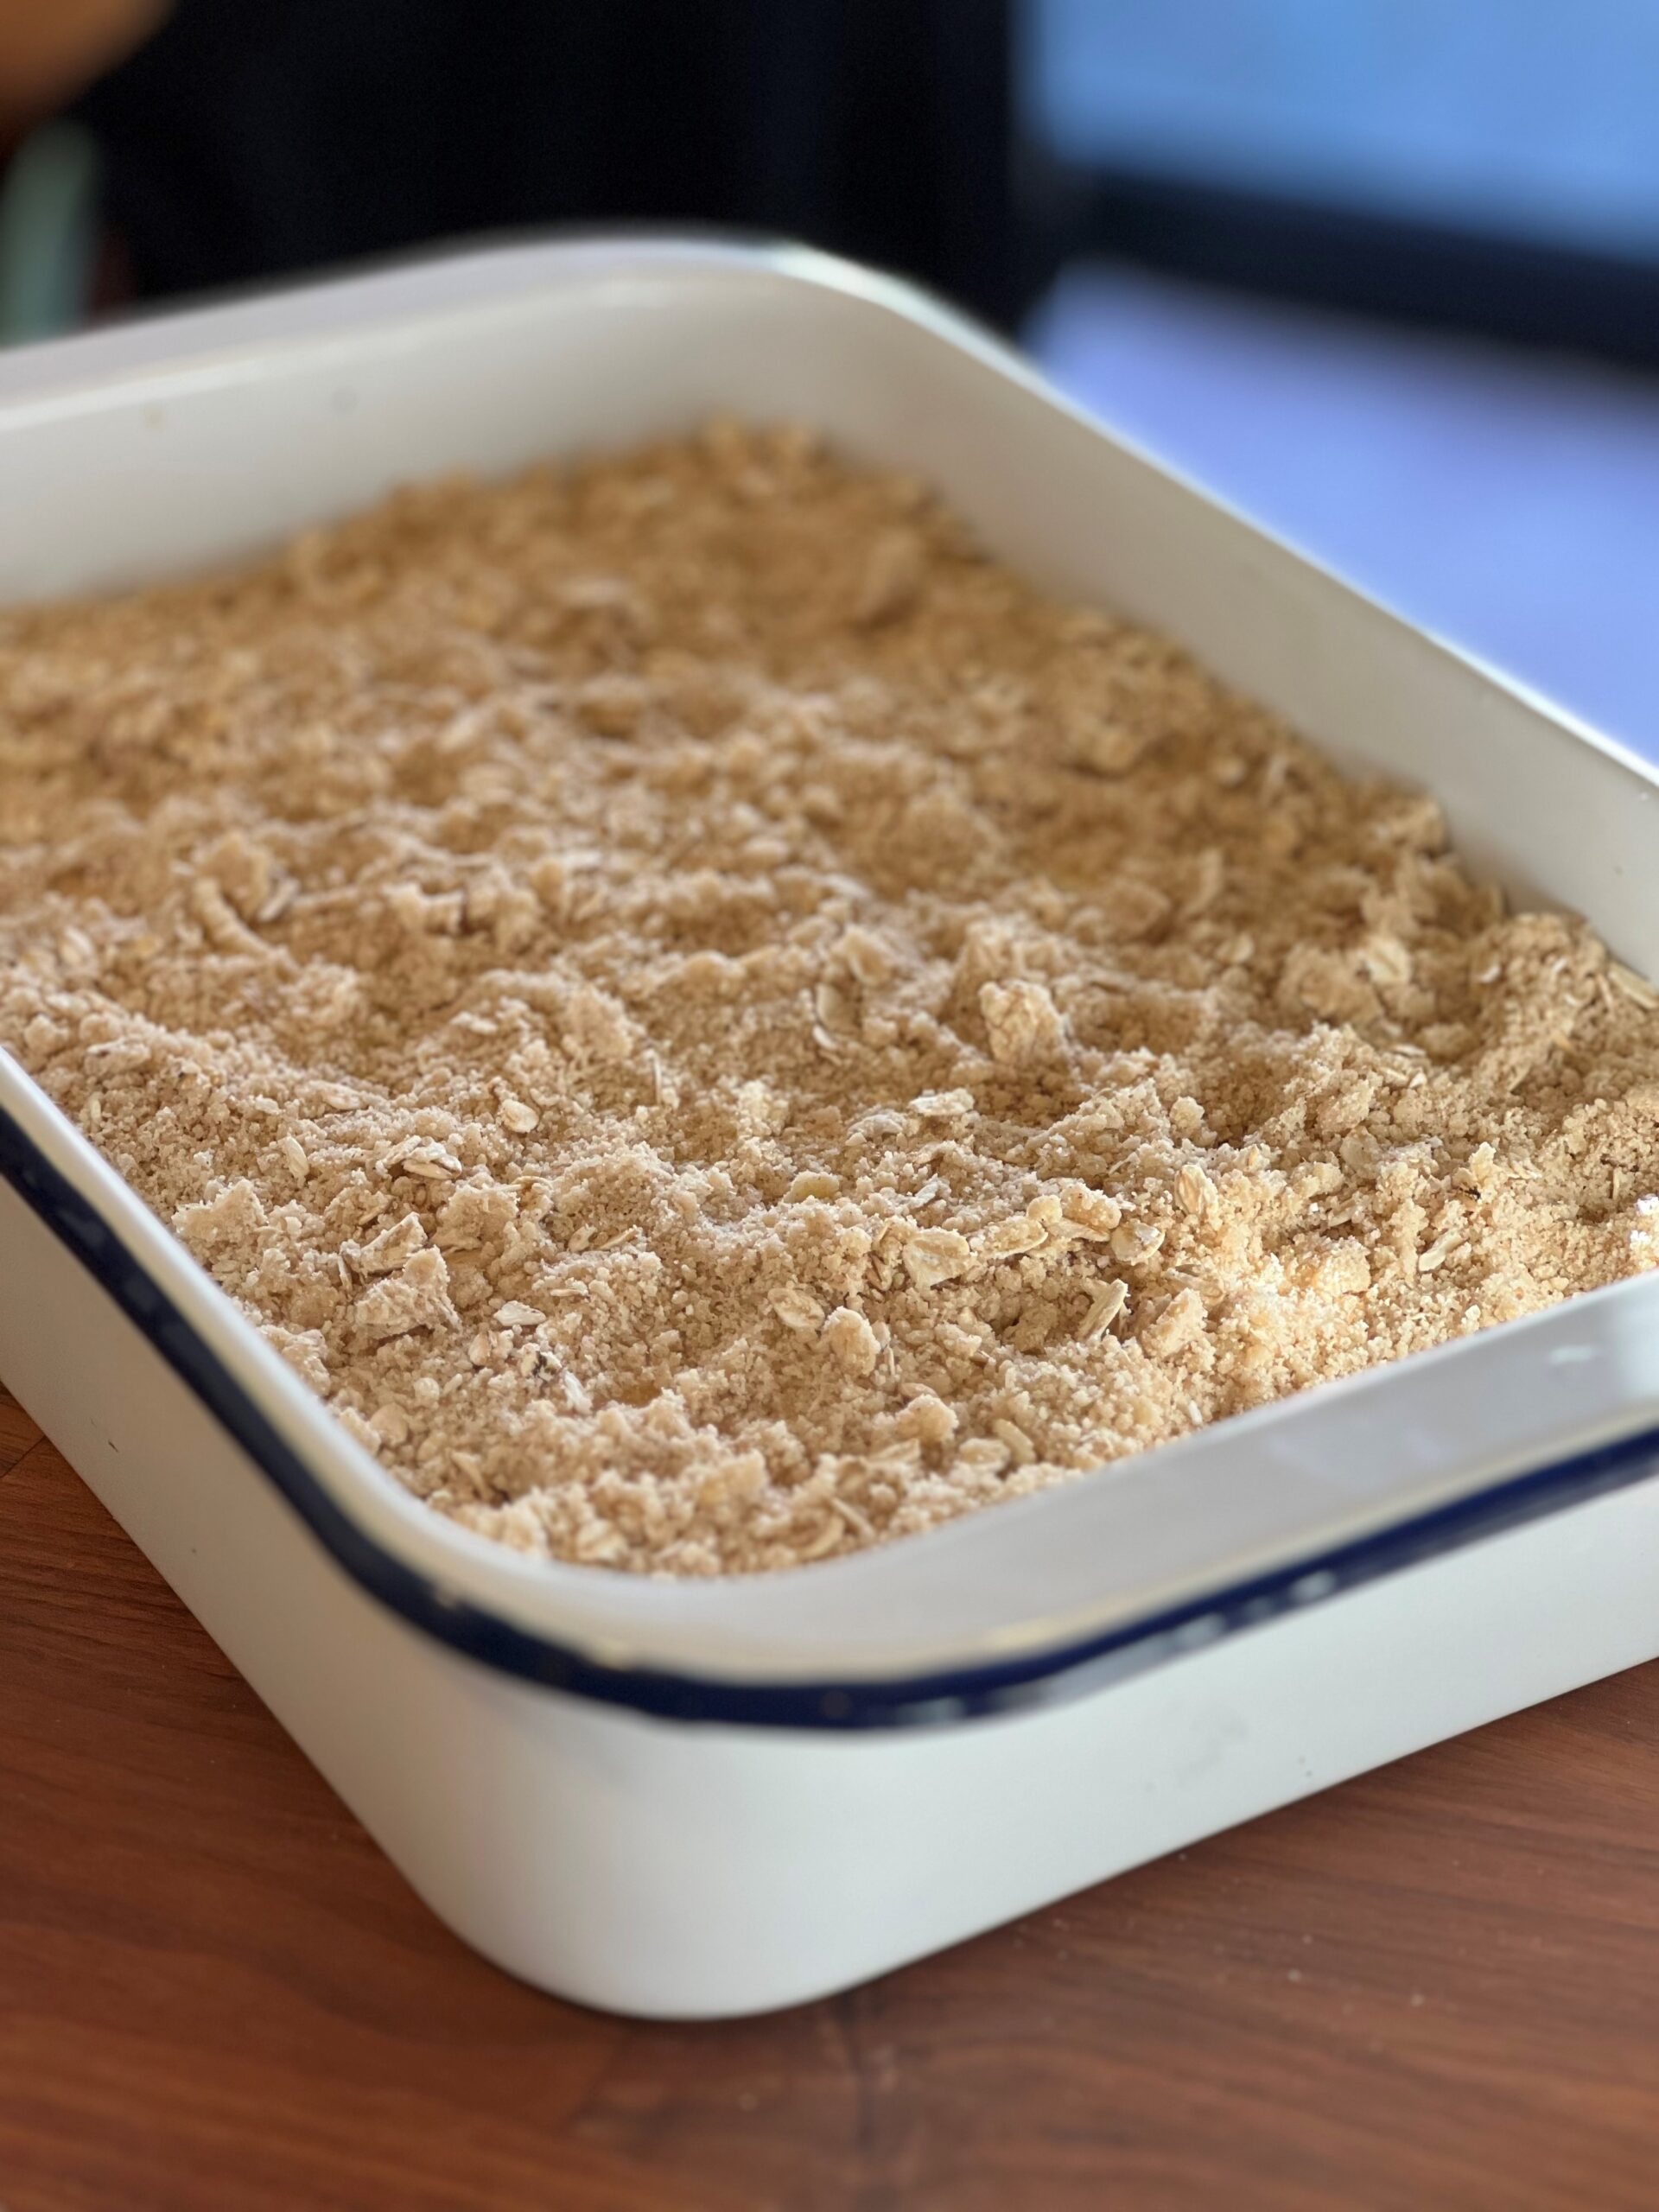
    Mix the sugar, melted butter and golden syrup in a bowl. Separately, mix the dry ingredients in a large bowl and then add the sugar and butter mixture and combine well. Add half the mix to a 16cm x 25cm rectangular baking dish lined with parchment paper and press down firmly. Add some generous dollops of whatever filling takes your fancy and then top with the rest of the flapjack mixture and press down.

    Cook in a 160C conventional/150C fan oven for 40 minutes. If you cook it longer, they do get considerably harder (I know because I didn’t hear my timer the second time I made these – oops). Cool for 5-10 minutes in the dish then use the baking parchment to lift onto a wire rack until cool before cutting into any size you like.

    I think you could use all manner of things in the middle of these. A chocolate spread would be delicious, as would some sort of salted caramel, both of which I will try next time I make them.

    Makes around 16 servings, more or less.


  2. Buttermilk Biscuits V2

    December 30, 2023 by Lisa

    I’ve been struggling with biscuits. Every recipe says they are “so easy” but I can assure you they kind of aren’t. This version isn’t perfect, but it’s getting there. A few things helped. One, freeze the butter, grate it then put it back in the freezer. Two, use Tipo 00 (or T45 pastry flour) for a softer biscuit. Three, make sure the baking powder isn’t out of date (d’oh!). Don’t use the fan oven setting – conventional heat seemed to work better. Finally, use a high-sided dish when cooking the biscuits so the sides keep the biscuits from spreading. I used a 28cm deep dish pie pan and got about 8 biscuits in there.

    Ingredients:

    • 250g Tipo 00 flour
    • 1 tbsp baking powder
    • 1/4 tsp baking soda
    • 2 tsp sugar
    • 1 tsp salt
    • 85g frozen, grated butter
    • 180ml buttermilk

    Instructions:

    Preheat the oven to 220C. In a large mixing bowl, whisk the dry ingredients together well. Add the frozen butter and use a pastry cutter to mix until crumbly. Add the buttermilk and mix gently. Turn out onto a floured surface and work together into a ball (don’t overwork – you don’t want the butter granules to melt). Pat the dough into a rectangle about an inch thick and fold the short edges in. Turn and pat down again. Fold and turn another couple of times.

    Pat into a rectangle about 1.5cm thick and using a floured biscuit cutter, cut into 8-10 rounds. Arrange the biscuits in the high-sided pan with each biscuit touching. Bake for 15-18 minutes until golden brown.


  3. Parsnip and Sweet Potato Soup

    December 30, 2023 by Lisa

    A lovely wintery soup that tastes a little like korma. Mix up the spices as you like. We used chili flakes, powdered ginger, lime and coriander, but chipotle would add some smokiness or you could use fresh ginger, fresh chili peppers or even curry powder if you like that kinda thing.

    Ingredients:

    • 2 chopped celery stalks, chopped
    • half an onion, diced
    • olive oil
    • 2 large parsnips, peeled and diced
    • 2 medium sweet potatoes, peeled and diced
    • vegetable stock (about a pint)
    • 1 can of coconut milk
    • 2 tsp powdered ginger
    • chili flakes, salt and pepper to taste
    • fresh coriander and lime wedges for garnish

    Instructions:

    Fry the onions and celery in a large, deep skillet with the olive oil until soft. Add the parsnips and sweet potato, cover with vegetable stock, cover and cook until tender. Add the vegetables and stock to a blender or food processor and blend until smooth. Add seasonings and coconut milk and transfer to a saucepan, heat and serve with coriander, lime and some crusty bread.


  4. Gingerbread Cookies

    December 24, 2023 by Lisa

    These are soft, thick gingerbread cookies that are super simple to make.

    Ingredients

    • 225g salted butter, at room temperature
    • 213g light brown sugar
    • 170g black treacle
    • 390g plain flour
    • 2 1/2 tsp ground ginger
    • 1 1/2 tsp cinnamon
    • pinch of nutmeg
    • 1/2 tsp baking soda
    • 1/2 tsp salt

    Instructions

    Beat butter and brown sugar in a large mixing bowl until creamed. Add the treacle and mix until combined. Add flour and spices and mix well. Add 1-2 tsp of milk if the dough doesn’t stick together well.

    Divide the dough into halves, and roll each one between sheets of parchment to 1.25cm. Place the rolled dough in parchment paper on a baking sheet and chill for 1-2 hours in the refrigerator.

    Preheat your oven to 170° C fan or 180° C normal. Cut your desired shapes out of the chilled dough and place a couple of inches apart on a baking sheet. If the cookies are no longer firm and cold to the touch put the sheet back in the refrigerator or freezer for 5 to 15 minutes.

    Bake for 8-9 minutes. They should look just set and slightly puffy. Let cool on the baking sheet for 10 minutes before transferring to a wire rack. Cool completely before decorating.

    The dough can be made, rolled out, and stored in the refrigerator for 1-2 days before baking or baked, cooled, and stored in an airtight container for 1-2 days before decorating.


  5. Fruit Crumble

    December 18, 2023 by Lisa

    Crumbles are super easy, but I always have to look up the proportions. This recipe is about right for a decent layer of fruit and a thick crumble. Honestly, I could eat crumble without the fruit, but we all need our 5 a day, right? Switch up the fruit as you like: apple, pears, maybe add some blackberries. You can use rhubarb if you’re feeling spicy – just pre-cook in a covered saucepan until soft and add sugar to taste. Use a rectangular baking dish. An 18×25 will serve 6-8.

    The Fruit:

    • 2 large Bramley apples for an apple crumble, but use more or less as you like
    • 2-3tsp cornflour
    • 150g caster sugar (or less if the fruit is sweet, like pears or eating apples)
    • 1tsp cinnamon

    The Crumble:

    • 240g plain flour
    • 150g room temperature salted butter, cut into pieces
    • 120g demerara sugar
    • 1-2tsp cinnamon
    • 100g rolled oats

    Peel and slice the apples into 1-2cm slices. If you use pears, cut into chunks as the pears will cook quickly. toss in a bowl with the cornflour, sugar and cinnamon.

    In a separate bowl, combine the flour, sugar and cinnamon with the butter and rub together with your fingers until the butter is evenly distributed and it has the texture of wet sand. mix in the oats.

    I always add a thin layer of crumble to the bottom of the dish as I love the slightly gooey base, but you can go straight in with the fruit if you prefer. Add the rest of the crumble to the top in an even layer. You can give some of the crumble a bit of a squeeze to create some larger crumbs which will crisp up nicely. If you want a really crunchy top, sprinkle on some more demerara sugar, but watch carefully so it doesn’t burn.

    Cook for 30-40 minutes at 180C fan or 200C conventional. You can stab a fork in to make sure the fruit is cooked. Serve hot or cold with cream, custard or ice cream.


  6. Possets

    May 13, 2023 by Lisa

    IMG_8988It’s been a minute, but I wanted to save this recipe because I LOVE it so much. You can also add this to a tart base or fill your desert pots with a biscuit crumb base. You can use lemon, orange or any citrus juice. Lemon is my favourite but I may try a grapefruit posset next time.

    Ingredients:

    • 300ml double cream
    • 100g caster sugar
    • 38ml citrus juice
    • zest of one citrus

    Put the cream and sugar in a saucepan and heat gently, stirring until the sugar is melted. Bring to a simmer and cook for 1 minute. Turn off the heat and add the juice and zest. Pour into tart base or divide between small pots. Cool to room temp and then chill in the refrigerator until set.

    It’s really that easy!


  7. Salted Clotted Cream Fudge

    December 27, 2017 by Lisa

    I haven’t posted in a very, very long time. I guess I’ve not really tried anything new! But that changed over Christmas as I had some time to make homemade things for hampers and found out how easy it is to make both clotted cream and fudge. Yes, you can make your own clotted cream and it’s really easy.

    This fudge recipe is based on a combination of quite a few recipes online and although I made only the one small batch, I’m pretty sure I have the foundations right. You can pretty much use any amount of clotted cream and sugar if you have a suitable sized pan. But let’s start with the clotted cream as you’ll need to start a day ahead. You’ll also want a jam thermometer as trying to determine the “soft ball” stage is more work than I was willing to put in. Mine was a good investment – essential for chili jam!

    IMG_2527Clotted Cream

    Pour enough double or whipping cream (heavy cream in the states) into a flat bottomed pan to give about 1-2 inches of cream.

    Place into a 80 C (180F) oven and leave it for 12 hours. After 12 hours it should have a golden yellow top. Take it out and cool to room temperature, then cover and place in the fridge for another 8-10 hours.  After that you should be able to gently scoop out the cream into a covered jar and keep it for up to 5 days. Easy! Oh, and so much cheaper than store-bought.

    Clotted Cream Fudge

    The amount you make will depend mostly on the quantity of cream you’ve made. This recipe assumes you have at least 225g of cream from your clotted cream making adventures. The syrup is really important, as it is, apparently what prevents sugar crystals from forming and gives this fudge the smoothest texture you can imagine. In general, however, just use the same amount of sugar as cream and make a guess as to the other ingredients. A little more or less vanilla or syrup isn’t going to make a huge difference.

    Start by lining a pan with grease-proof paper. You could butter it a bit as well, but make sure it covers the bottom and sides of the pan. I used a loaf pan for this amount of fudge.

    Ingredients:

    • 225g clotted cream
    • 225g caster (fine) sugar
    • 100ml golden syrup (or corn syrup)
    • 1 tablespoon vanilla paste or essence
    • pinch of flaked Maldon salt plus additional for the top


    Method:

    Place all the ingredients in a heavy bottomed pan and place over a low heat until the ingredients melt together. Try not to stir, but a little stirring didn’t hurt. This could take a rather long time – maybe half an hour or more. Have a cup of coffee.

    Once melted, put the thermometer in the pan and raise the heat to boiling, stirring constantly until the thermometer reaches “soft ball” or 118C (235F) and remove from the heat. Beat until the mixture thickens – about 10 minutes. It’s supposed to turn from glossy to matt textured, but mine really didn’t seem all that matt! Pour into the lined pan and press flat. Sprinkle with the Maldon salt flakes.

    Refrigerate until set, then remove and cut into whatever shape takes your fancy.


  8. Enchiladas Verdes

    August 31, 2014 by Lisa

    This dish was a slight revelation for me as I’d neither made it, nor indeed, eaten it, so was dependent on my own tastes and a variety of recipes, both online and in my various cookbooks.

    Salsa Verde is made with tomatillos, a small green fruit that looks a bit like a small, green tomato and a bit like a large gooseberry. Interestingly, whilst a member of the nightshade family, like tomatoes, potatoes and eggplant/aubergine, it is more closely related to the Cape Gooseberry than the tomato. And whilst the tartness reminds me of a gooseberry, it’s apparently not related to it at all. Moving on…

    This is a recipe for chicken enchiladas verdes, and is as easy as enchiladas get. You will need a couple of things not generally available in the UK: a large (24 oz) can of tomatillos and white corn tortillas.. Both can be found at mexgrocer.com. Queso de Chihuahua is also recommended, but a mild Chedder would also do well enough. Makes enough for four.

    Filling:
    5 or 6 chicken thighs in an oven-proof container, sprinkled liberally with
    Cumin
    Oregano
    Ancho chili powder (or similar)
    And a splash of olive oil

    Salsa verde:
    24 oz can tomatillos in their liquid
    2 cloves garlic, pressed or chopped finely
    Half an onion, chopped
    6 or 7 pieces of jalapeño, to taste and chopped
    Chicken broth cube

    Queso de chihuahua, grated, for the top

    Place the chicken thighs and herbs in the oven proof dish and sprinkle with a bit of olive oil. Place in a 200 degree oven and cook until done – about 25 minutes – turning once or twice.

    Fry the onions and garlic in a little oil until soft and place in a saucepan with the jalapeños, tomatillos and their liquid. Crush the stock cube into the pan and bring to a boil. Boil for 10 minutes and let cool. Put the contents into a blender and blend until smooth. Make a roux with a tablespoon of butter and a tablespoon of flour and slowly add the blended tomatillo mixture in until thickened. Coat the bottom of a casserole dish with the sauce.

    Drain the chicken. The chickens grease can be added to the tomatillo sauce if you like. Shred the chicken.

    Place 10 corn tortillas in the microwave for 1 minute to soften them (healthier than frying them in oil). Roll some chicken and a tablespoon of salsa verde into each tortilla and place side by side in the casserole dish. Cover with more salsa verde (you’ll have quite a lot left over) and sprinkle liberally with the grated cheese. Heat in a 200 degree oven for 20-30 minutes. Top with sour cream, or creme fraiche and chopped coriander (cilantro) and serve with Mexican rice.


  9. Amaretti Tiramisu

    May 4, 2014 by Lisa

    A nice twist on the classic Italian dessert. This is a small quantity suitable for 4 to 6 people.

    250 g mascarpone
    2 eggs
    35g caster sugar
    Amaretti biscuits
    tablespoon tia maria
    tablespoon Amaretto
    1/3 cup strong coffee
    Dark cocoa powder

    Separate eggs. Whip the whites until stiff then set aside. Beat the yolks and sugar until pale yellow. Blend in the mascarpone until smooth, then gently mix in the whites, being careful not to overmix.

    Combine the coffee, Tia Maria, and Amaretto in a shallow dish and soak the Amaretti biscuits for a few minutes. Put two layers of biscuits in the bottom of a small dish, then top with the mascarpone mixture. Smooth the top and dust liberally with cocoa powder.

    Refrigerate for 6 hours or overnight.


  10. Enchilada sauce take 2

    February 23, 2014 by Lisa

    I don’t always follow my own recipes and do a lot of ad hoc cooking, so last night I did chicken enchiladas, and loved the sauce so much, I want to try to repeat it. Not sure if it was the quality of the peppers, or simply the simplicity of the recipe. You can find the original recipe here, but I like this one much better:

    4 Ramiro (large long red) Peppers
    1 tblsp Ground Cumin
    1 cup Chicken stock + some reserved chicken grease from cooking the chicken thighs as per the previous recipe
    2 tablespoons flour mixed in water to make a paste

    Slice the peppers and remove the seeds and tops. Roast in a 200C oven until fragrant and slightly blistered. Remove and let cool. Put the peppers in a blender with the rest of the ingredients. Blend well. Pour into a largish saucepan and simmer for about 10 minutes until slightly thickened.

    If you like your sauce hotter, roast a few red chilis with the peppers and add them too.